Thursday, 20 May 2010
Editing
After days of trying to reduce the shadows on the green screen in the animation i have sadly had to just edit together clips that i could salvage which had the most green screen able to be keyed out in after effects. this has ruined the feel of the animation but with the moving backround working in these remaining clips at least it now looks like a short claymation if not a failed experiment. Very disapointing.
Problems
After finishing the animated background i have encountered problems when trying to key out the green screen on the animation to be replaced with the background. i have repeatedly tried to reshoot the claymation but the lighting has always been wrong. Also i have now ran out of time to finish the subway background in maya so i have decided to concentrate on fixing the keying problem and just use one background.
Background
Aswell as the background i have included moving smoke which i filmed in the dark and then keyed out the black in after effects and moving fire which i made in the same way. aswell as this i have created a collapsing ceiling and an exploding wall in maya.
finished animating

after using the white puppet to animate three minutes i will now create some effects to add to the background which i have decided will be an underground painting i posted at the start of the blogg and a maya scene based on another painting of a subway i posted.

The green screen set.
 I have designed and made four adentical wooden frames from lengths of 3ft and 2ft pine and the added panels of 3ft by 2ft plywood on the front of each and fastened them together with bolts and wing nuts so it is easily disasembled if i need to transport it or the fabric i will pin to it rips. i then painted the wood the same colour green as the fabric incase the fabric stretches. I then dissasembled the box and pinned the green fabric to each pannel and reassembled.
Woodwork


I have sanded down these four wooden components until they roughly resemble the design for the arm and leg. I have then made a hinge joint for the knee and elbow by conecting the two peices of wood with a pin and securing it with appoxy resin to stop the wood from splitting. the plastercine hand and foot will be added before painting and adding more design with modeling clay.
A head.
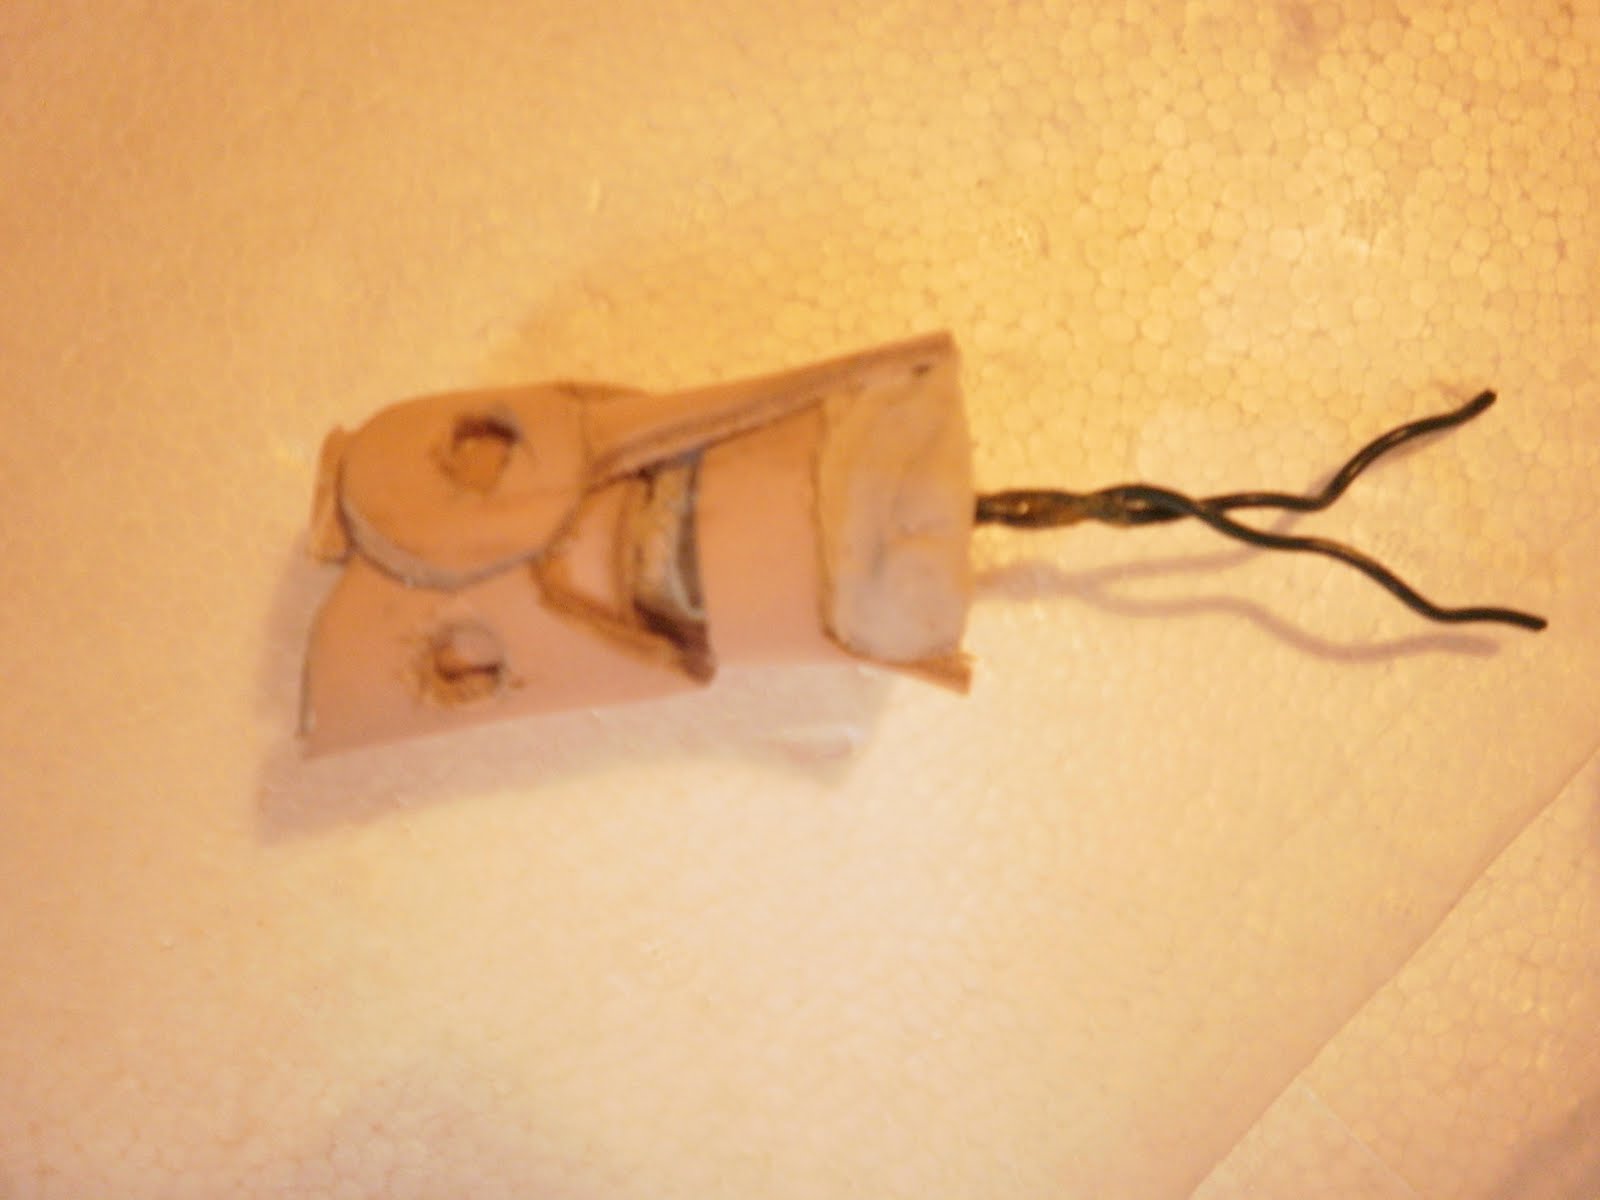
This is the unpainted head that will be attached to the body of the characted shown in the design below. It is made from three peices cut from thin leather, soaked in hot water, moulded arourn a dolls head and then dried with a hair dryer until stiff. The inside is made from hard setting clay that is sturdy enough to house the wire that will connect it to the plastercine body. there will only be eye movement from this piece.
Designs for another character.


These are designs for a second character that is much more complicated. these different components will fit together to form to legs and feet, two arms and hands and a tail moulded from leather and wood. the legs will be dowling tht is shaped and sanded attached to lastercine feet to give realistic movement when animating.
Adding modeling clay

The character design i have chosen is very simple not unlike an evil looking Morph. Hopefully the white clay will stand out against the green screen enough to make it easier to key out the green in after effects.
Making a character

I started off with a wire frame and added small woooden blocks on the feet for stability when the plastercine in added. With a wire frame like this any human-like design can be added.
Monday, 22 March 2010
An idea that i have been working on in regards to a script has been worked around the paintings. I have gone back to some very early sketches and found that most of them center around towns, inside buildings and subway like enviroments so i will be repainting alot of them and designing characters that fit but are simple enough to be made out of clay and textiles. I also will be working around every animation medium i can get a hold of to be eventually put onto and into the green screen set but this may prove difficult to incorporate seemlessly. I dont really want to think of it as an instalation piece as i am working towards a film but it may turn out to be half and half.

Again this painting needs alot of work done with lighting but I have again purposly tried to make it look almost child like and cartoonish to accompany a test shoot with claymation. Some aspects of this scene like the bridge and train will be made in maya and possibly a room as the door is entered leading into a shop.


This is how i implimented a background in after effects. I only used two lights so there are some dodgy shadows and for speed i just used a photograph in this test but it showed that this method worked fine. I also added an animated flower i created in maya just to see what effect a moving background would have on the camera movement but it worked well so i will continue with the green screen idea and begin designing an enviroment based on previous paintings and maya enviroments and storyline that can incorporate stop motion, 3d and 2d animation.
A really stupid test shoot


Here i tried to test out an idea i had for my final piece using green screen and any object i had to hand. Although it looks really bad i needed to find out if this method would work before i progressed. At first i tried to use a badly painted green box in an attempt to create a small green screne studio but the inconsistant brush strokes made it difficult to use so i ended up just using green fabric but the final piece will be in a much larger green box lined with non reflective fabric. The reason for using a box as apose to just a wall is so i can pivot the camera left, right and down as the animation is taking place. This method leaves me open to creating a stop motion scene with a background created in maya or even a moving background in toon boom if i choose.
trench
 This is a scene from a previous project that i may be able to use as most of the scenes i have painted are either in open lanscapes or very confined areas. Although the lighting is fairly decent here (exept the spotlight on the bricks) I could continue work on bit mapping andexpanding the size of the scene so that a camera could turn 360 degrees.
Another rough idea
 This image could be the entrance or joined on to the subway scene. I have put some fog in the forground just to take awaysome of the brightness from the floor which i will correct by painting beams of light from the stairs and the ceiling. I wil make the corridor and possibly the stairs in maya but the red and black background will stay painted. as with the others this is still a rough painting.
Candidate for Maya
 Here is quick painting layout that i will use to create the scene in maya. The dimentions are wrong but i have tried to make it as cartoon like as possible and roughly blocked in. I would imagin a 3D train speeding past made in maya or maybe rotoscoped in after effects.
 This is another attempt at using light to sillhouette a landscape. The water colour sky is abit to saturated but i can fix that in photoshop and an ambient light from after effects would slightly brighten up the castle. Also the tree was a mistake i will change it to a creepier, leafless one.
I fogged out the forground to try an push the hill into the background.

Subscribe to:
Comments (Atom)