Thursday, 20 May 2010
Editing
After days of trying to reduce the shadows on the green screen in the animation i have sadly had to just edit together clips that i could salvage which had the most green screen able to be keyed out in after effects. this has ruined the feel of the animation but with the moving backround working in these remaining clips at least it now looks like a short claymation if not a failed experiment. Very disapointing.
Problems
After finishing the animated background i have encountered problems when trying to key out the green screen on the animation to be replaced with the background. i have repeatedly tried to reshoot the claymation but the lighting has always been wrong. Also i have now ran out of time to finish the subway background in maya so i have decided to concentrate on fixing the keying problem and just use one background.
Background
Aswell as the background i have included moving smoke which i filmed in the dark and then keyed out the black in after effects and moving fire which i made in the same way. aswell as this i have created a collapsing ceiling and an exploding wall in maya.
finished animating

after using the white puppet to animate three minutes i will now create some effects to add to the background which i have decided will be an underground painting i posted at the start of the blogg and a maya scene based on another painting of a subway i posted.

The green screen set.
 I have designed and made four adentical wooden frames from lengths of 3ft and 2ft pine and the added panels of 3ft by 2ft plywood on the front of each and fastened them together with bolts and wing nuts so it is easily disasembled if i need to transport it or the fabric i will pin to it rips. i then painted the wood the same colour green as the fabric incase the fabric stretches. I then dissasembled the box and pinned the green fabric to each pannel and reassembled.
Woodwork


I have sanded down these four wooden components until they roughly resemble the design for the arm and leg. I have then made a hinge joint for the knee and elbow by conecting the two peices of wood with a pin and securing it with appoxy resin to stop the wood from splitting. the plastercine hand and foot will be added before painting and adding more design with modeling clay.
A head.
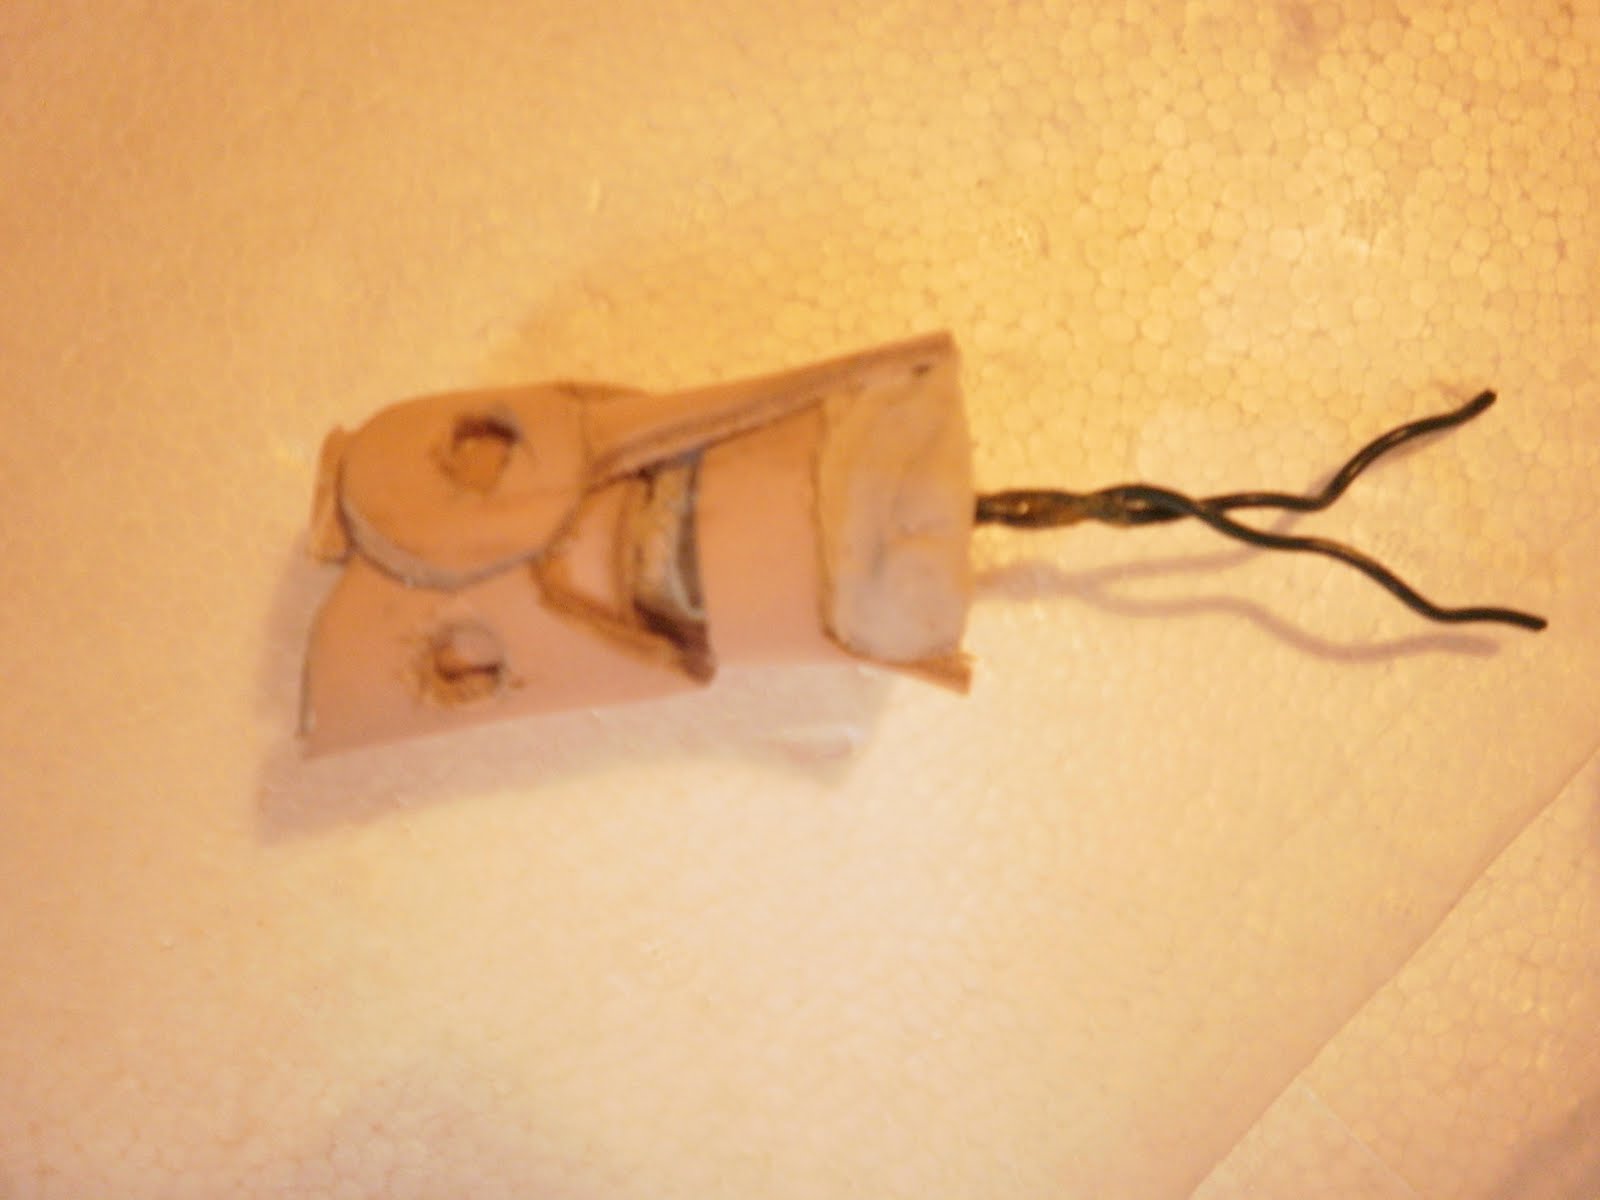
This is the unpainted head that will be attached to the body of the characted shown in the design below. It is made from three peices cut from thin leather, soaked in hot water, moulded arourn a dolls head and then dried with a hair dryer until stiff. The inside is made from hard setting clay that is sturdy enough to house the wire that will connect it to the plastercine body. there will only be eye movement from this piece.
Designs for another character.


These are designs for a second character that is much more complicated. these different components will fit together to form to legs and feet, two arms and hands and a tail moulded from leather and wood. the legs will be dowling tht is shaped and sanded attached to lastercine feet to give realistic movement when animating.
Adding modeling clay

The character design i have chosen is very simple not unlike an evil looking Morph. Hopefully the white clay will stand out against the green screen enough to make it easier to key out the green in after effects.
Making a character

I started off with a wire frame and added small woooden blocks on the feet for stability when the plastercine in added. With a wire frame like this any human-like design can be added.
Subscribe to:
Comments (Atom)